Upgrading or downgrading a service allows you to adjust your plan based on your needs.
Whether you need more resources or want to scale back, the process is simple.
Here’s how you can upgrade or downgrade your service:
1- Log in to the Client Area
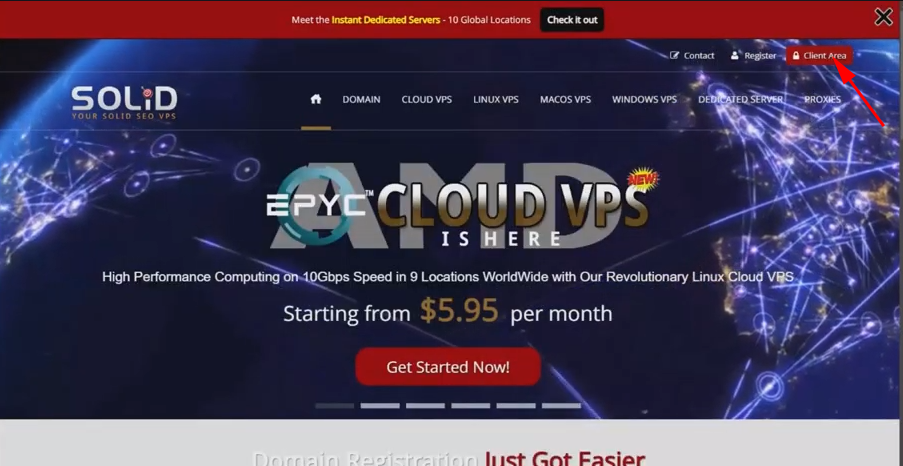
Click on the red button at the top right corner of our homepage.

Enter Your Credentials
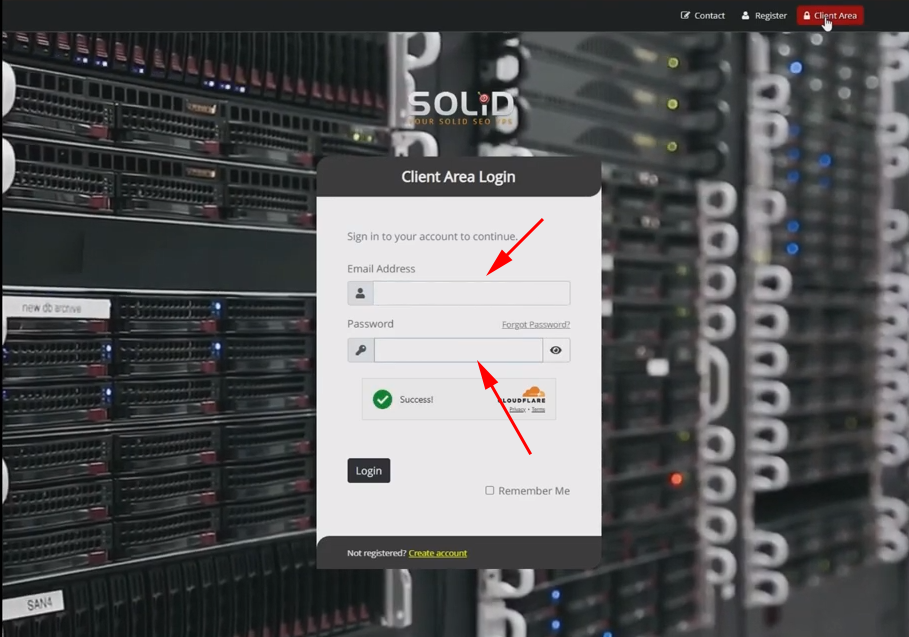
After clicking the red “Client Area” button at the top of our homepage, you’ll be prompted to enter the email address and password you used when signing up for your Solid VPS service.
On the login page, enter the username and password you used to sign up

Two-Factor Authentication (If Enabled)
if you have two-factor authentication (2FA) enabled, you’ll need to enter the code sent to your mobile device or email to proceed.
Step 2: Go to the “Services” Section
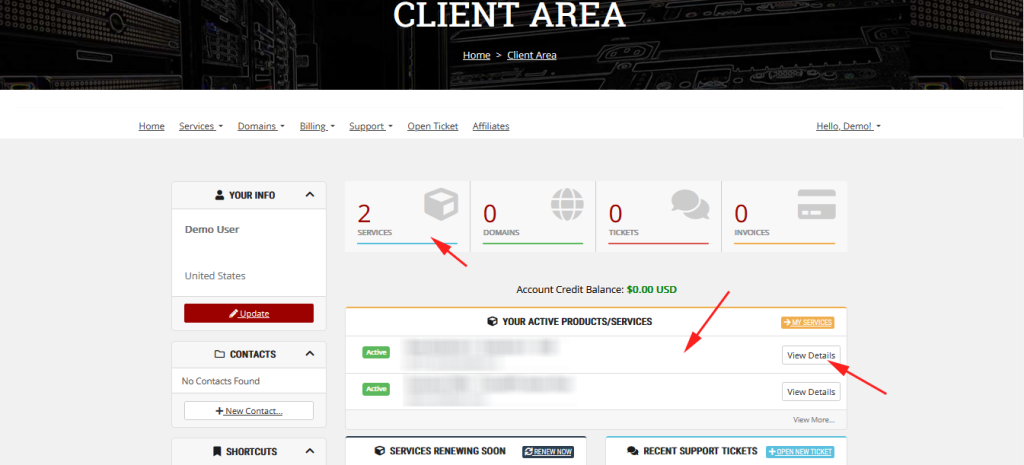
n the main menu, navigate to the “Services” section, where you can view all active and past services associated with your account.
Select the service you want to upgrade or downgrade and click on it to open the service details page.

Step 3: Choose Upgrade or Downgrade Option
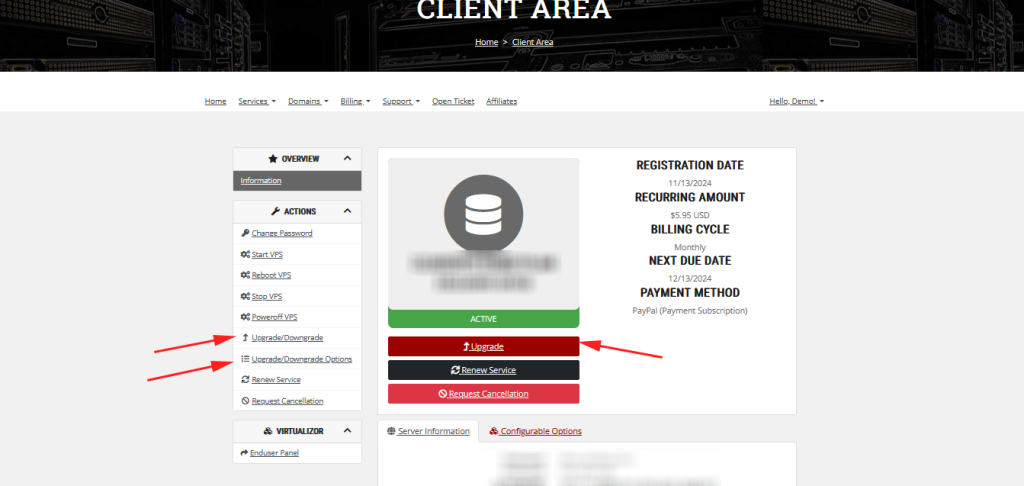
n the service details page, look for the option to “Upgrade” or “Downgrade” your plan.
Depending on your current service, you’ll see different upgrade/downgrade options available.

