Adding funds to your account in WHMCS ensures that you have a prepaid balance for future services or invoices.
Here’s how you can easily add funds to your account:
1- Log in to the Client Area
Click on the red button at the top right corner of our homepage.

Enter Your Credentials
After clicking the red “Client Area” button at the top of our homepage, you’ll be prompted to enter the email address and password you used when signing up for your Solid VPS service.
On the login page, enter the username and password you used to sign up
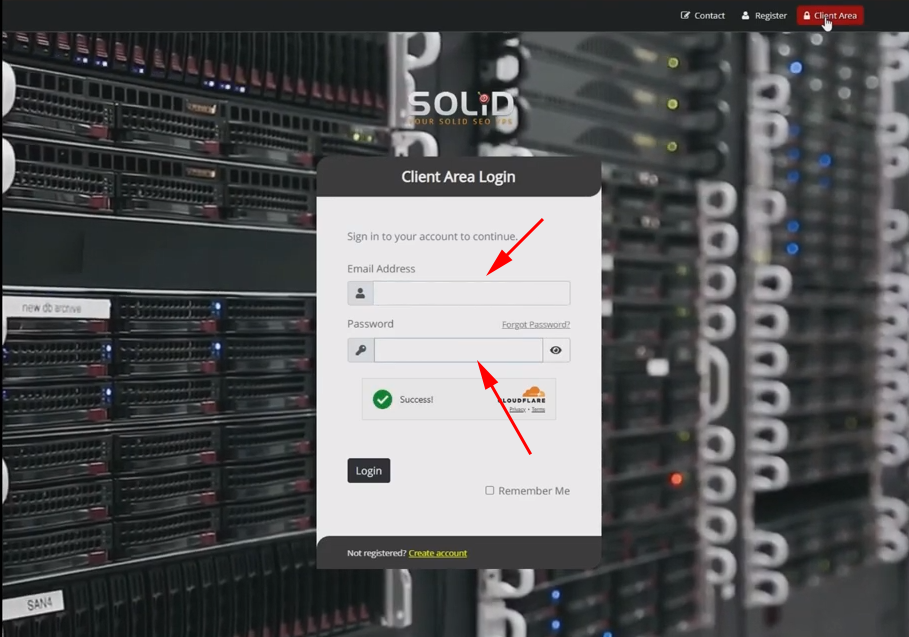
Two-Factor Authentication (If Enabled)
if you have two-factor authentication (2FA) enabled, you’ll need to enter the code sent to your mobile device or email to proceed.
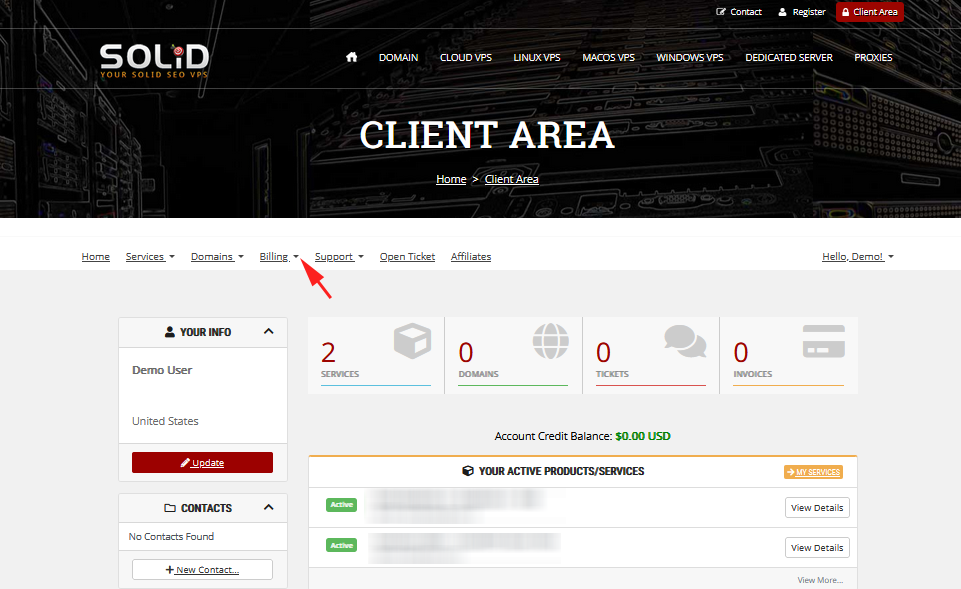
2- Access the Billing Section
Once logged in, go to the “Billing” section located in the main menu of your client area.
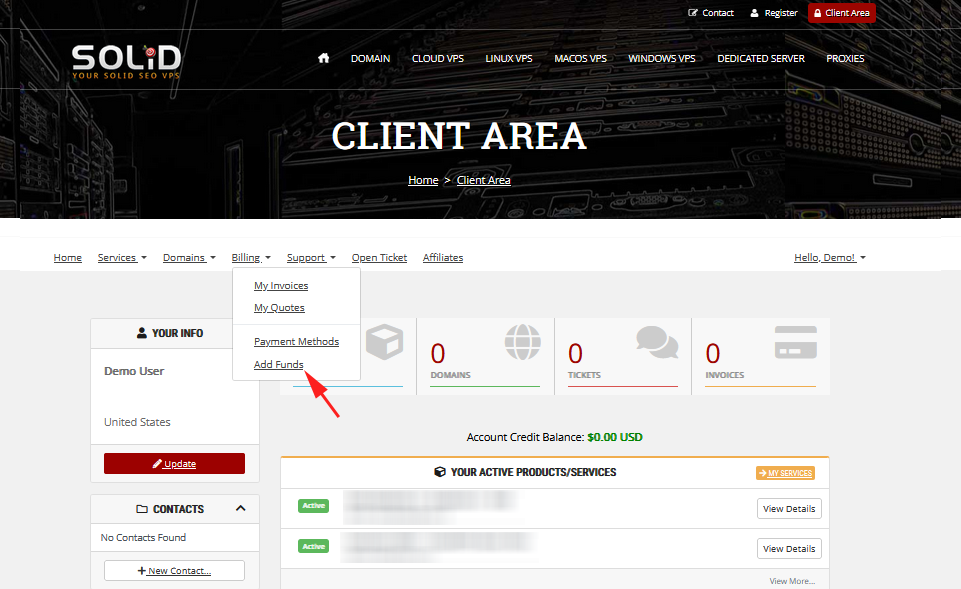
Step 3: Select “Add Funds”
In the “Billing” section, click on the “Add Funds” option.
This will take you to the page where you can add funds to your account.
Step 4: Choose the Amount
Enter the amount you wish to add to your account balance.
You can select a predefined amount or enter a custom value based on your needs.
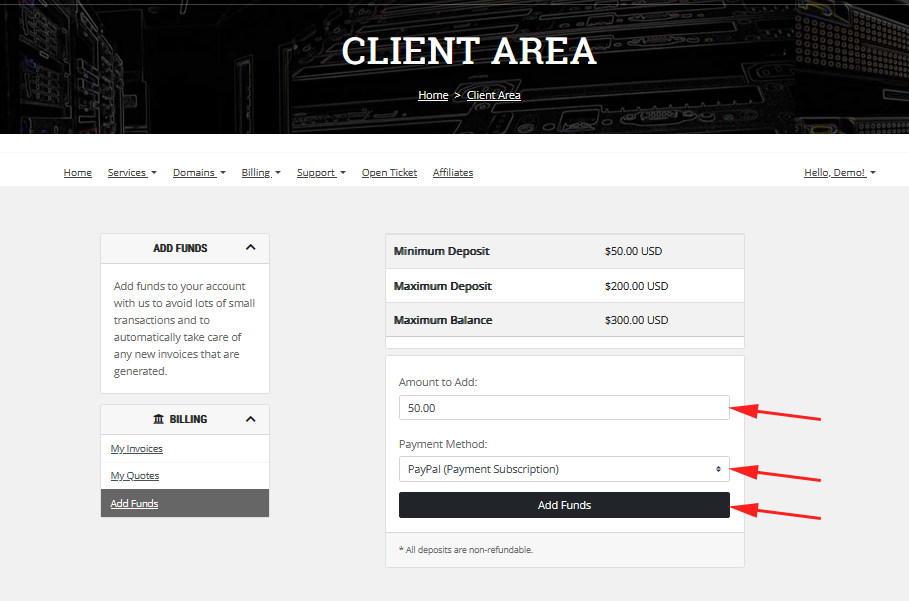
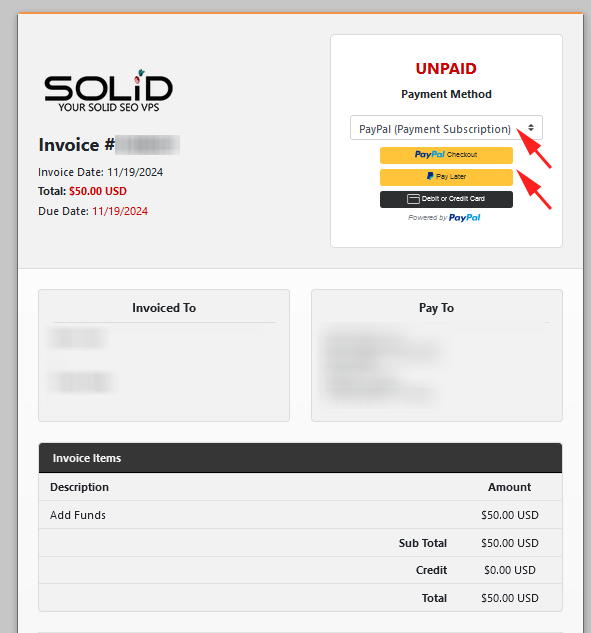
Choose your preferred payment method from the available options (credit card, PayPal, etc.).
Step 5: Complete the Payment
After selecting your payment method, follow the prompts to complete the payment.
Once the transaction is successful, the funds will be added to your account as a credit balance in your client area.