Setting up PTR (Pointer) or Reverse DNS (rDNS) records is essential for ensuring proper email delivery and improving server credibility.
PTR records allow IP addresses to be resolved back to the domain name, which email servers often check to confirm the authenticity of the sender.
In this guide, we’ll walk you through the steps to configure PTR/RDNS using your dedicated server panel from within the client area.
Step 1. Login To The Client Area
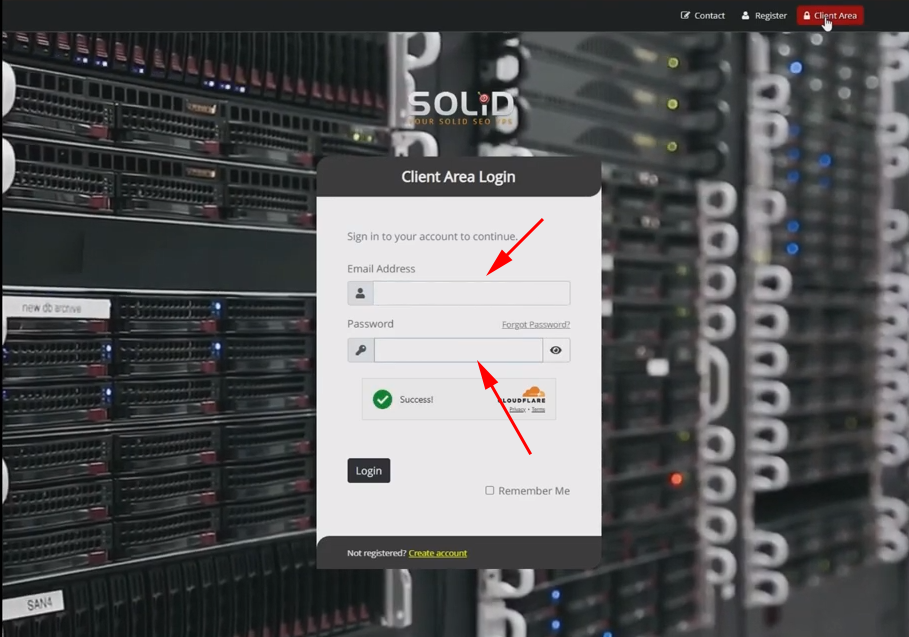
Click on the red button at the top right corner of our homepage

On the login page, enter the username and password you used to sign up

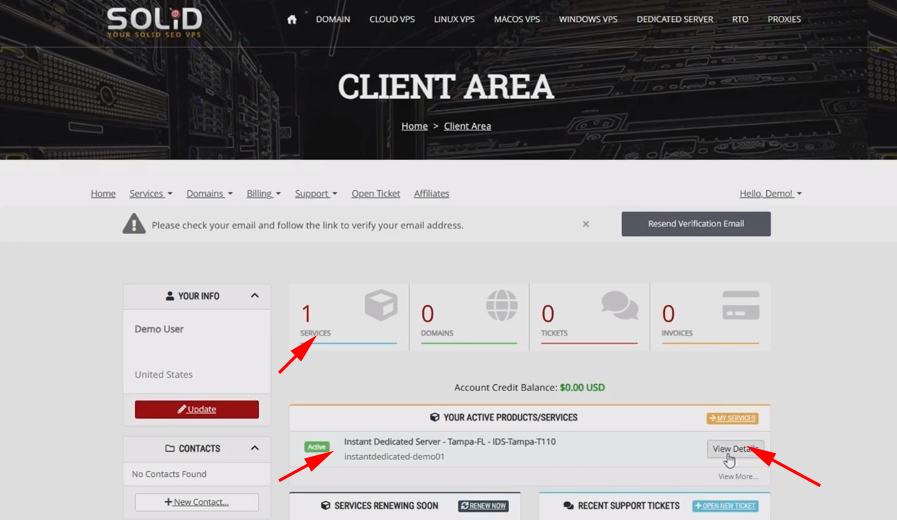
Step 2. Select The Server From The Service Page.
Once you’re logged in, select the server from your active Products/Services.

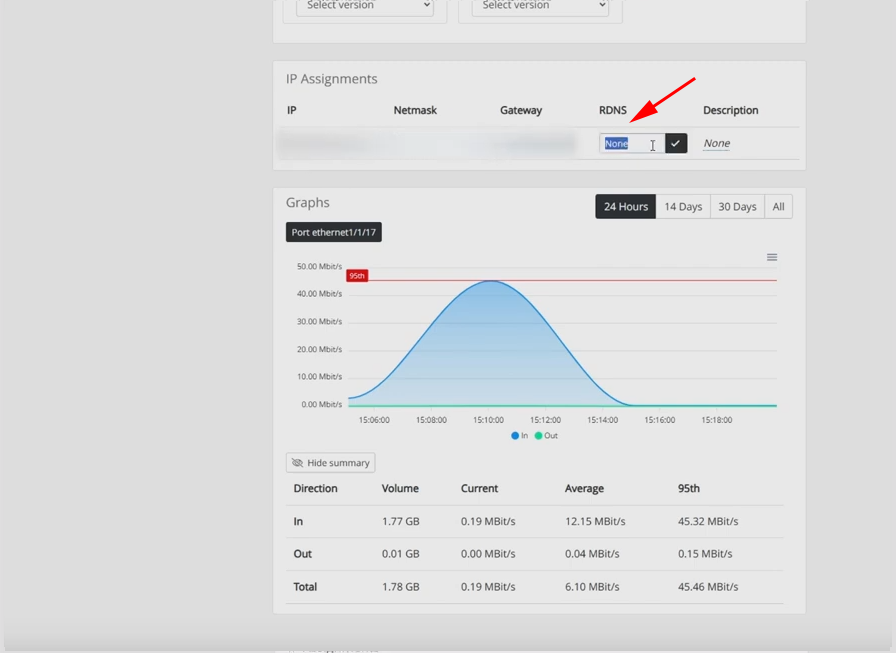
Step 3. Setup PTR/RDNS
Scrolling down to the “IP Assignment” box, you’ll find your server’s IP address(es), subnet mask, and gateway. You also have the option to set your server’s IP RDNS record and add a short description if needed.

