When you manage a dedicated server, having access to a management console is crucial for efficient administration. The management console provides you with a user-friendly interface to monitor server performance, configure settings, and troubleshoot issues remotely.
Here’s a step-by-step guide on how to launch the management console for your dedicated server.
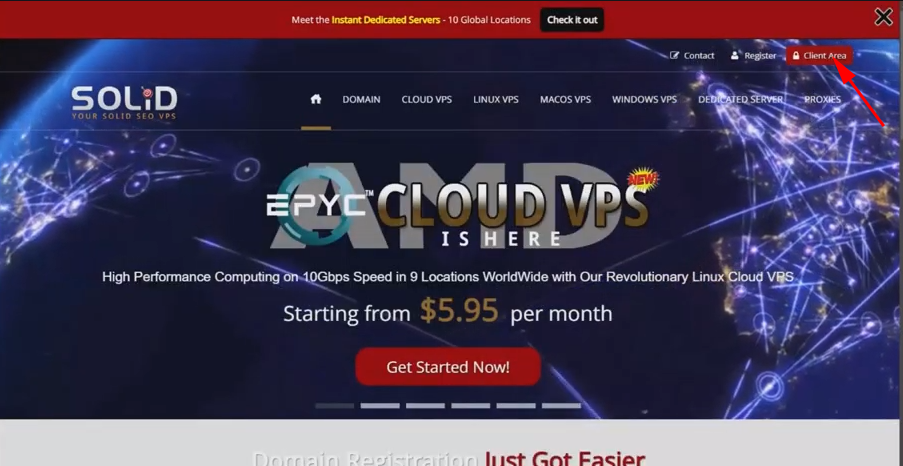
Step 1. Login To The Client Area
Click on the red button at the top right corner of our homepage

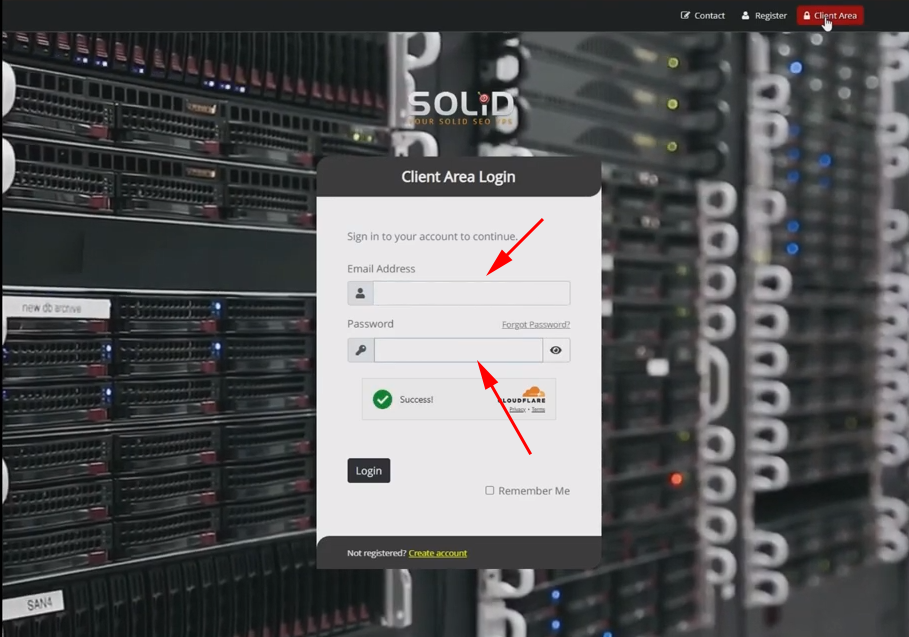
On the login page, enter the username and password you used to sign up

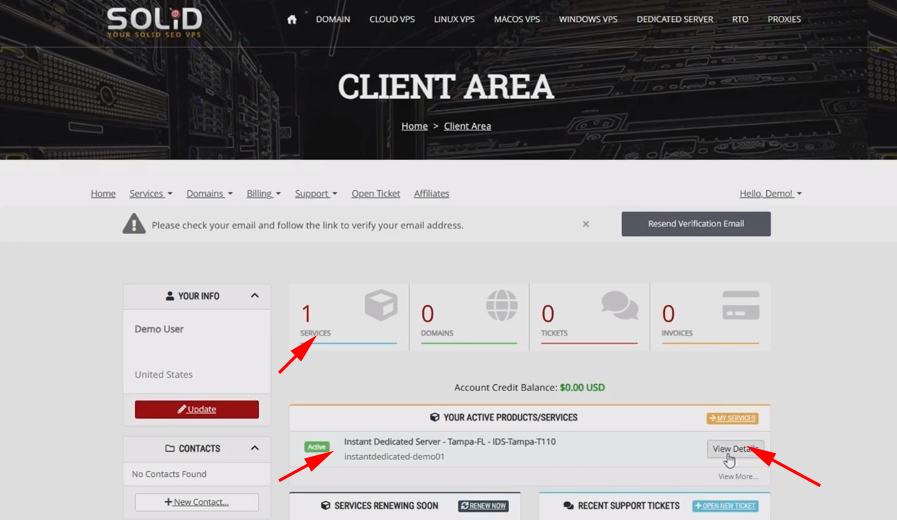
Step 2. Select The Server From The Service Page.
Once you’re logged in, select the server from your active Products/Services.

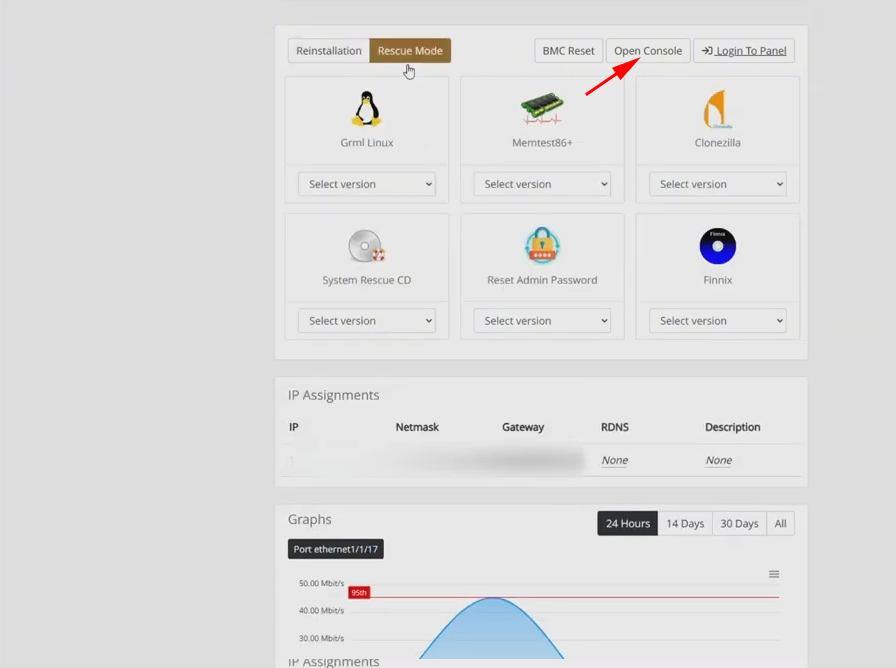
Step 3. Launch The Management Console
Scrolling down to the “Reinstallation” tab, launch the server management console by clicking “Open Console,”


