If you need to connect to a macOS VPS from another macOS device, Apple provides simple and secure ways to establish remote access.
In this guide, we’ll cover step-by-step instructions to set up and connect to a macOS VPS from a macOS device, using 2 methods, the built-in tools and VNC Viewer, ensuring your connection is secure.
Requirements
Before starting, make sure you have:
- The IP address or hostname of the macOS VPS
- The username and password for the VPS were provided in the welcome email
- A stable internet connection
Method 1: Connect Using Screen Sharing
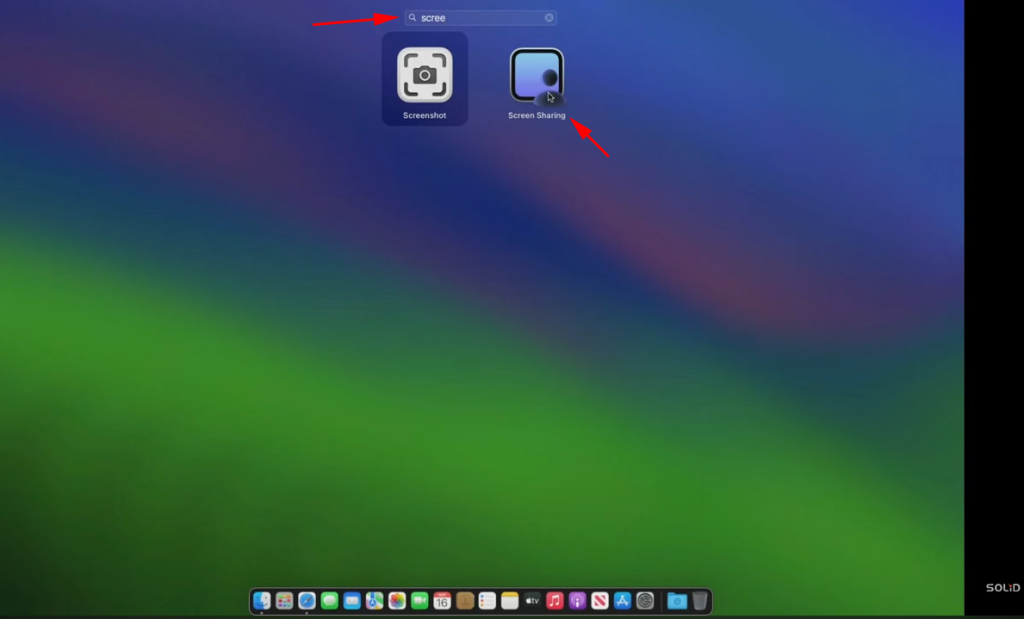
macOS includes a built-in Screen Sharing app that allows you to easily connect to another macOS device.
- Open Finder: On your macOS device and search for “Screen Sharing”
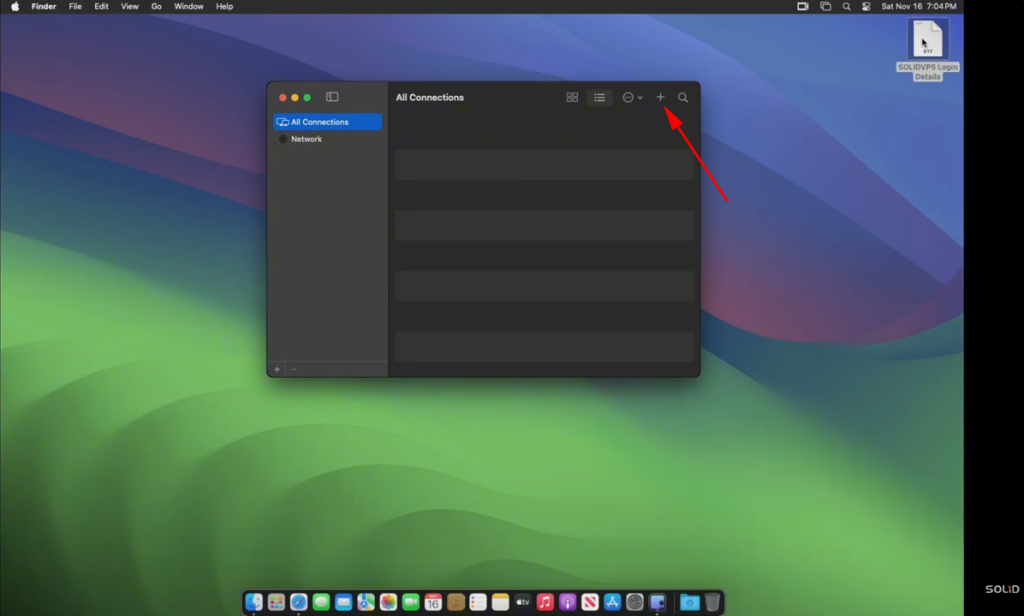
In the Screen Sharing app, click the + icon in the top-right menu to get started.
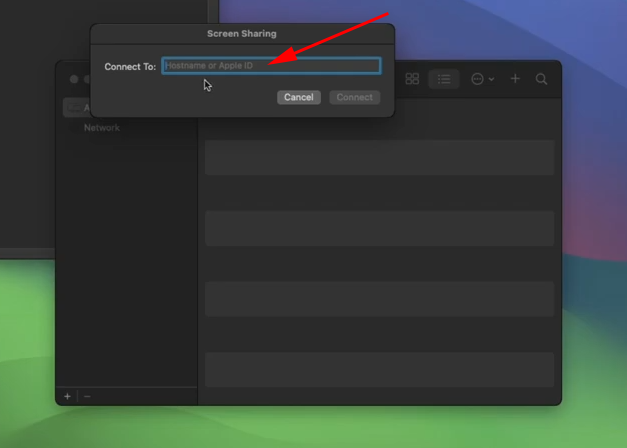
Enter your server’s IP address in the “Hostname” field.
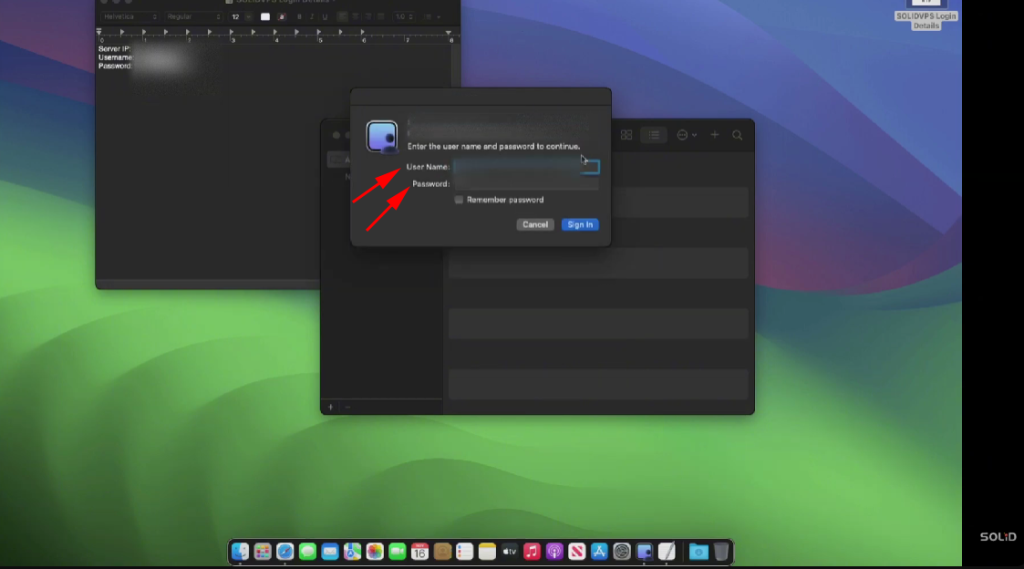
Authenticate: You’ll be prompted to enter the username, password, for the macOS VPS.
Enter these details and click Sign in to connect.
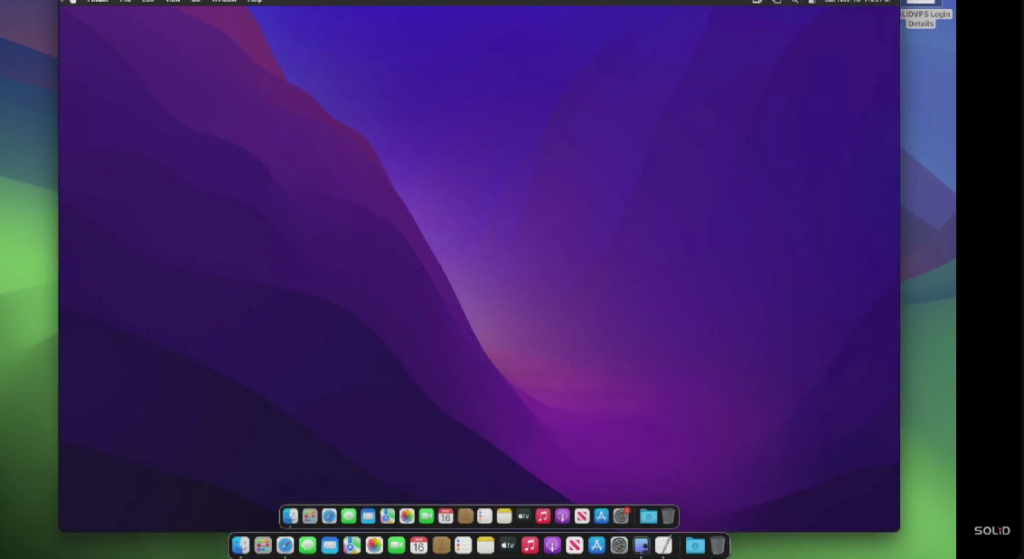
Congratulations, you’ve successfully completed the first method.
Method 2: Connect VNC Viewer
* Install VNC Viewer on Your macOS Device
If you haven’t already installed VNC Viewer, follow these steps:
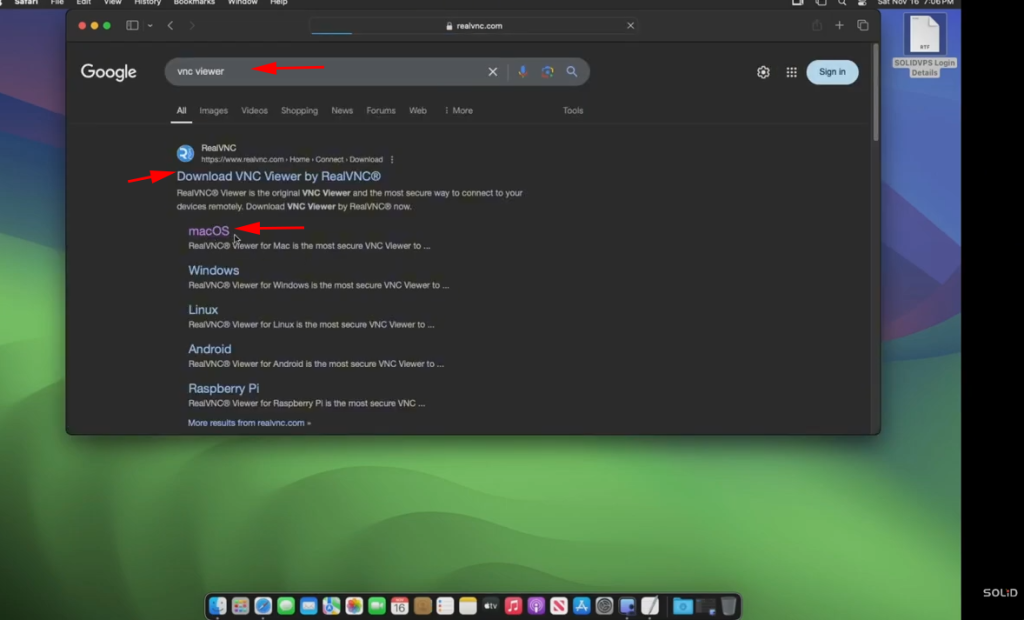
- Download VNC Viewer: Go to the RealVNC website and download the VNC Viewer for macOS.
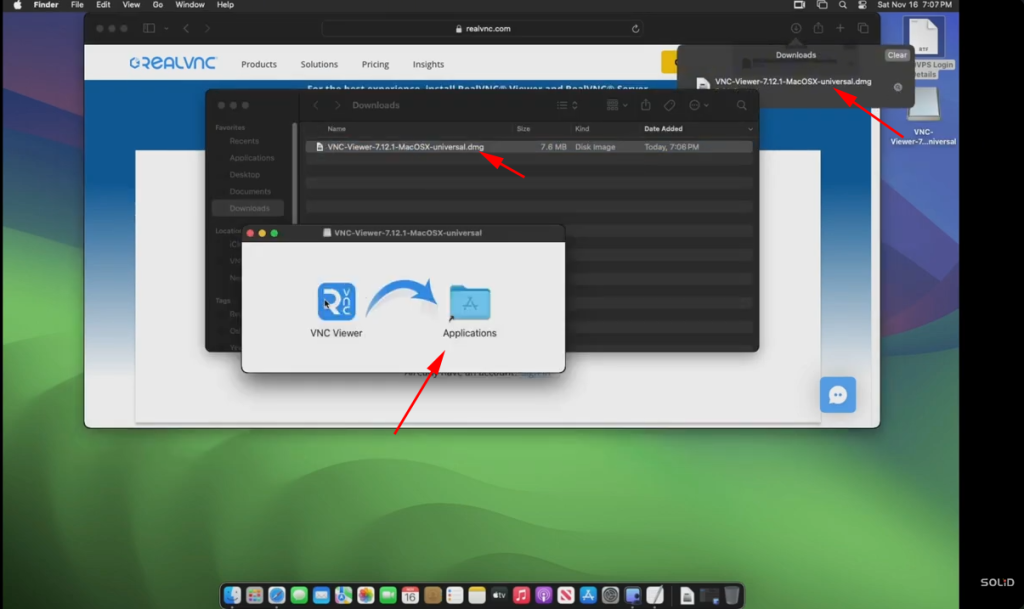
- Install VNC Viewer: Open the downloaded file and follow the installation instructions to complete the setup.
- Launch VNC Viewer: Once installed, open the VNC Viewer application on your macOS device.
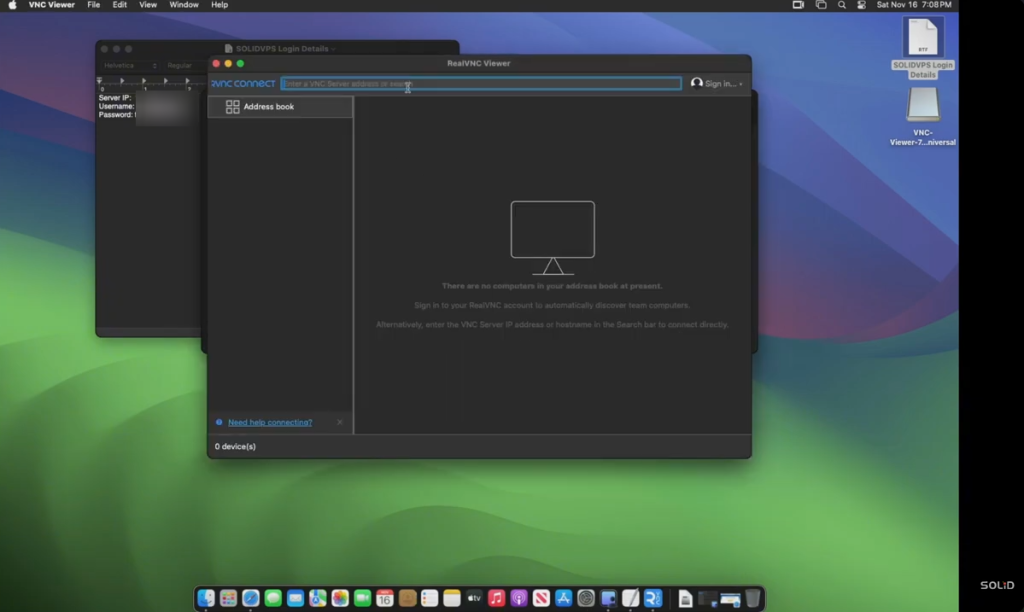
Connect to the Remote macOS Device Using VNC Viewer
Now that VNC is installed on your macOS device, follow these steps to establish the connection:
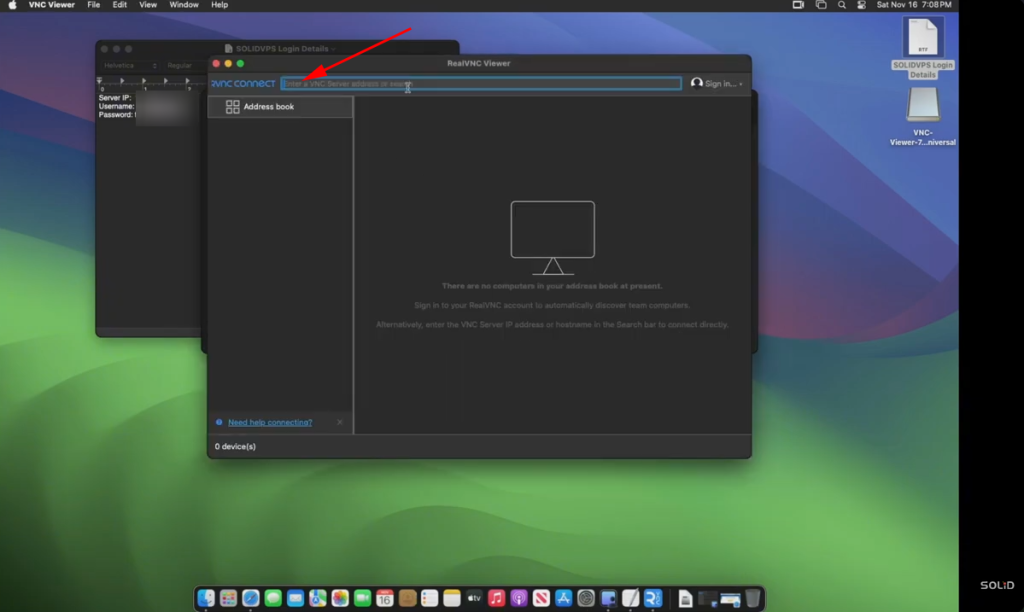
Open VNC Viewer: Launch the VNC Viewer app on your macOS device.
Enter the IP Address: In the VNC Viewer hostname
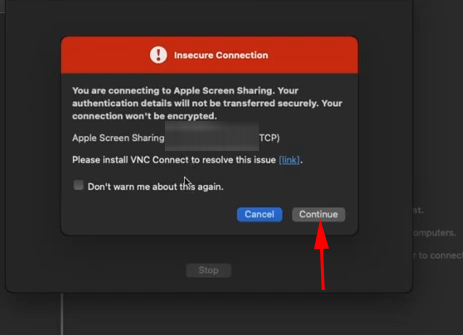
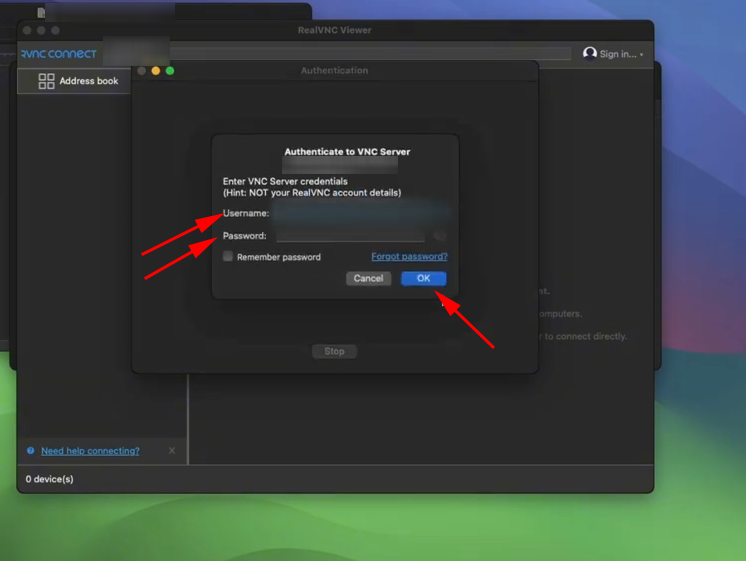
Authenticate: When prompted, enter the VNC username and password then click OK to connect
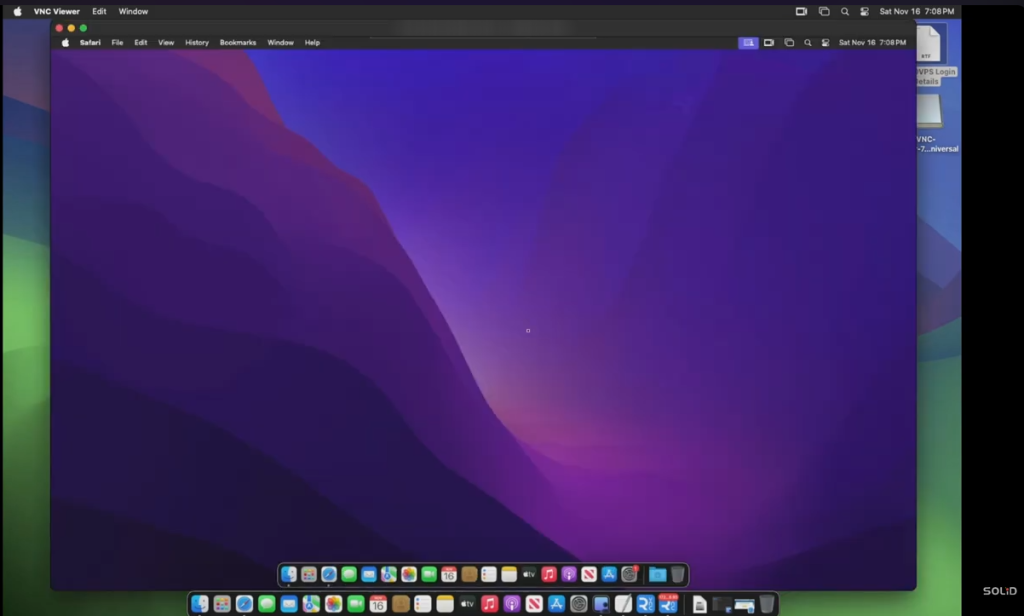
Congratulations! 🎉 You have successfully connected to the macOS VPS from your other macOS device!
Now you can start managing your macOS environment remotely.
Enjoy your new connection!
