Mounting a custom ISO in our Enduser Panel allows you to install a custom operating system or run software directly from the ISO.
This feature is especially useful for users who need specific operating systems or applications not provided by default.
This guide will show you how to launch and mount a custom ISO in the Enduser Panel.
Accessing The Enduser Panel
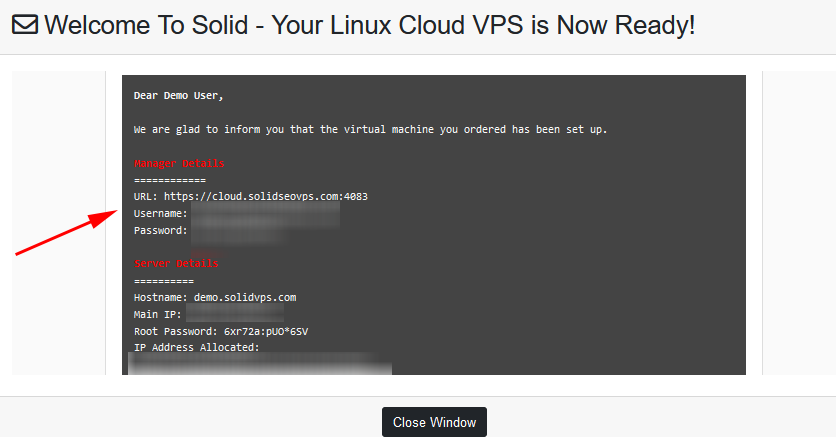
In your welcome email, you will find the access details for our Enduser Panel, including the panel address, your login username, and password.
ISO
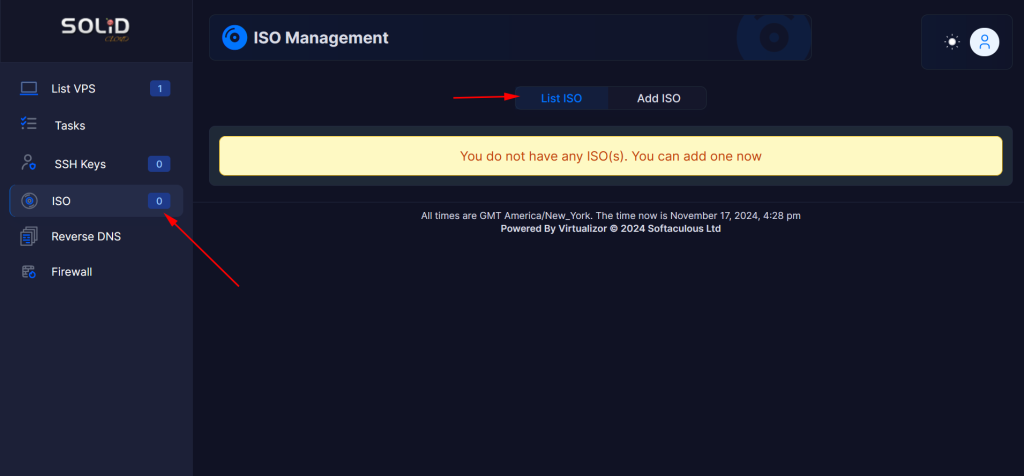
The ISO Menu in the Enduser Panel allows you to manage ISO images for your VPS.
ISO images are typically used for installing operating systems or other software on your server.
In this menu, you can:
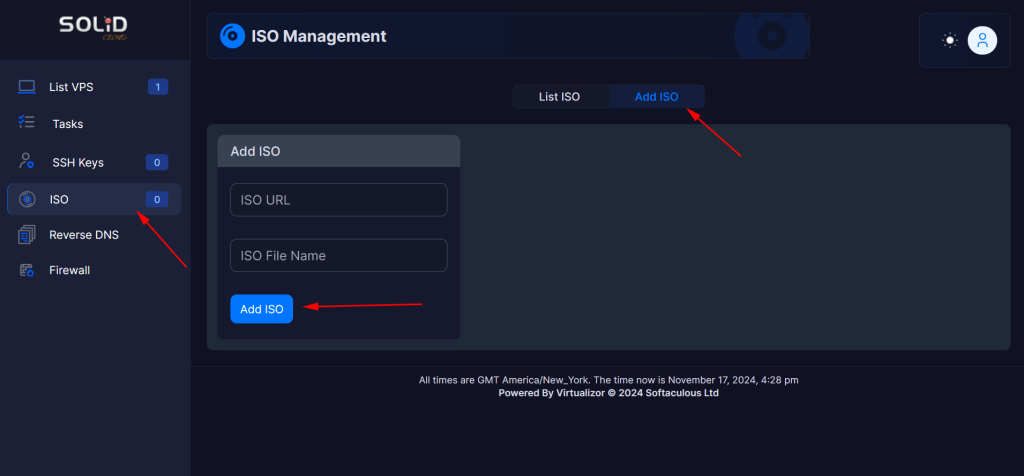
- Upload ISO images: Upload custom ISO files for installing or reinstalling an operating system on your VPS.
- Mount ISO images: Attach an ISO image to your VPS to boot from it, enabling you to install or run software directly from the ISO.
- View available ISOs: See the list of ISO images currently available for your VPS.
This menu is essential for users who want to perform OS installations or software setups from custom images or specific versions.
Configure The Boot Sequence
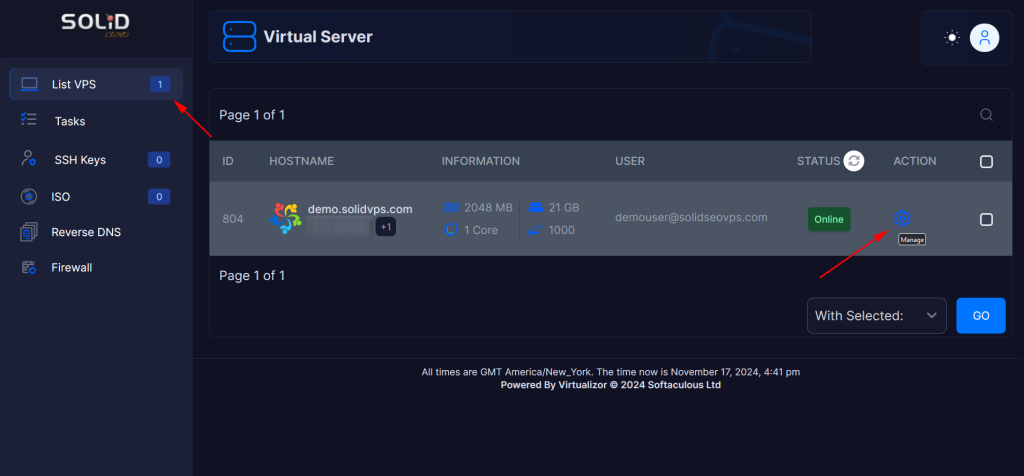
In the “List VPS” section, select the VPS you want to mount the ISO to, then click the Manage gear icon next to it.
From there, go to the “Settings” tab.
Settings
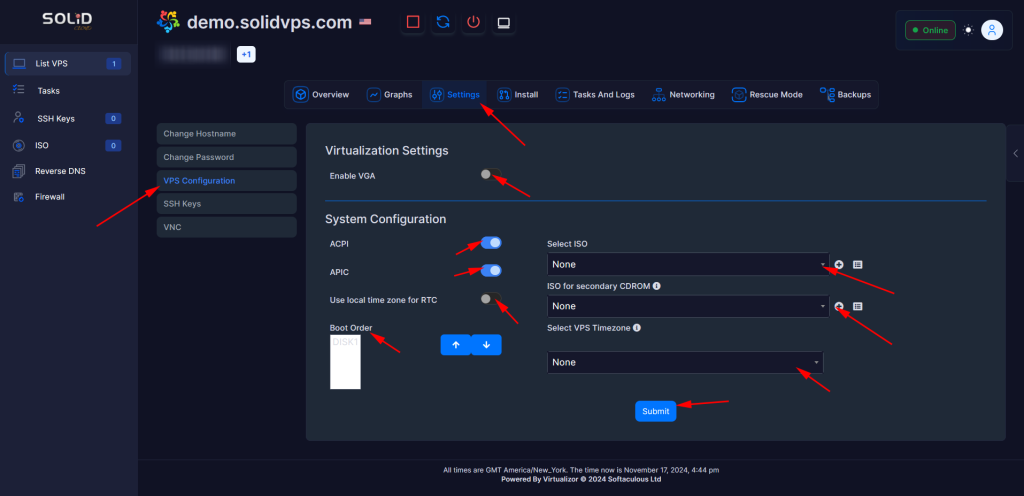
In the “Settings” tab, navigate to the left-side menu and select the option to adjust the ISO boot order. You can set the ISO as the primary or secondary boot device, based on your preferences.
VPS Configuration
